Today, I have two different types of ornaments to show you. Both of them use the same clear glass ornament you can pick up at any craft store. I like the idea of being able to personalize ornaments based on the colors and general feel of the Christmas decorations in my home. It means I don’t have to settle for something that is close to my existing decor. Instead, I can create something that coordinates perfectly and fits seamlessly.
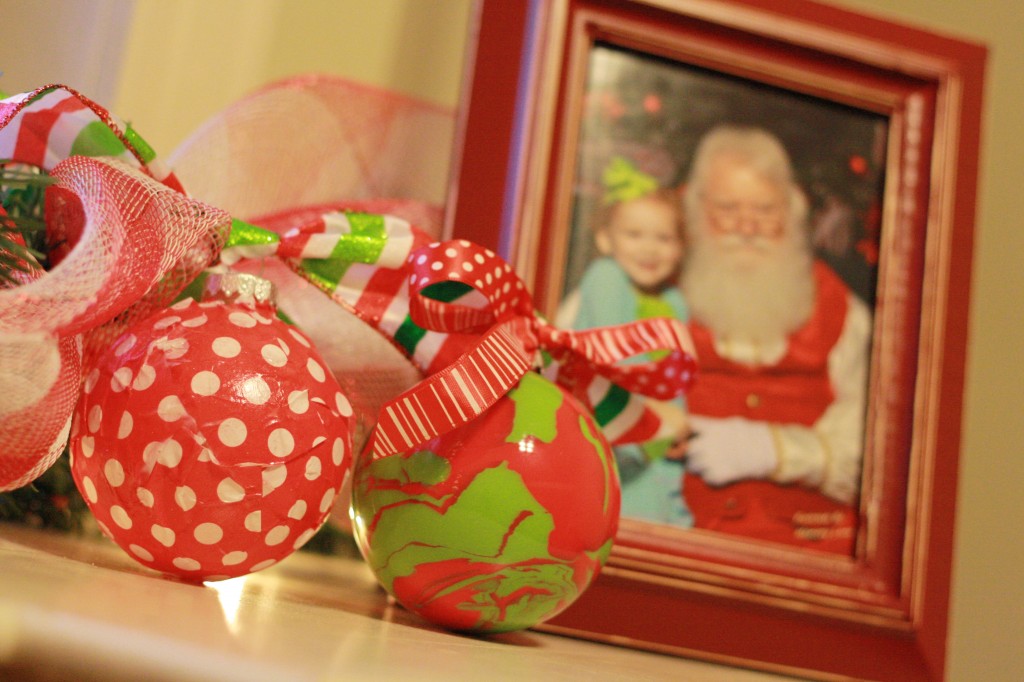
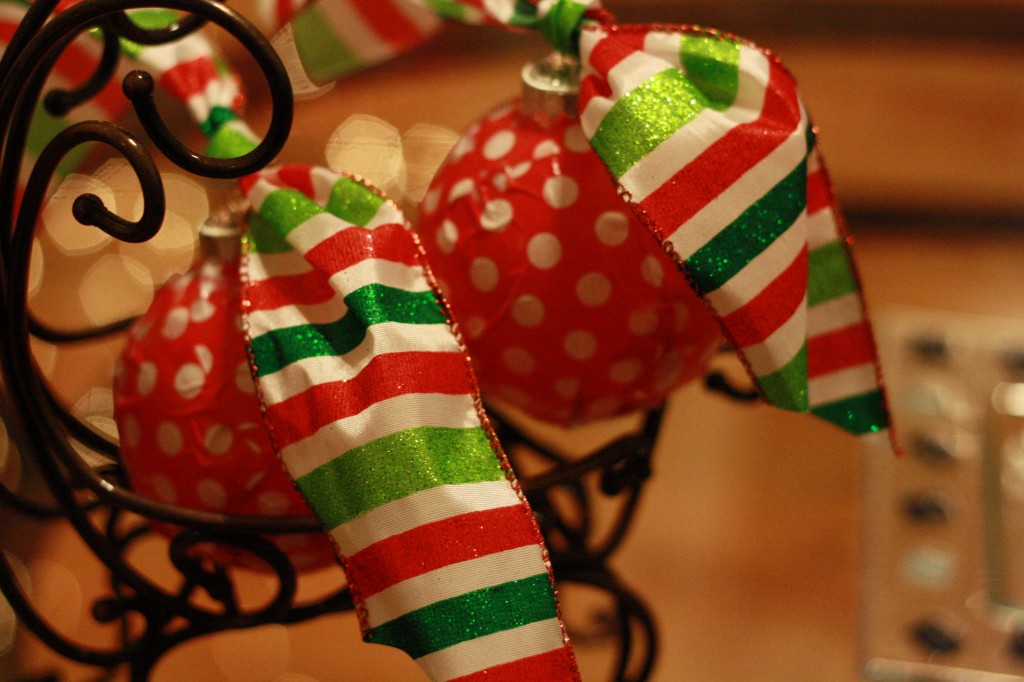
Pictures above are the two ornaments I’ll be writing about today. The red polka dot ornament is a Modge Podge tissue paper ornament and the green and red is made with acrylic paint. Both are super simple and full of character.
Let’s start with the Modge Podge ornament.
Materials:
- Modge Podge
- Paint Brush
- Glass ornaments
- tissue paper
- coordinating ribbon
Start by painting the entire ornament with Modge Podge.
Then add the tissue paper to the ornament and give it another coat of Modge Podge. Let it dry completely and add a coordinating ribbon or bow. Now, if you’re a perfectionist this project is going to drive you crazy. There is no fool-proof way to get the paper smooth and even on the ornament because it’s shape. But once it’s finished and has completely dried it looks great.
The next ornament is so much fun to make! Just add a few generous squirts of acrylic paint to a clear ornament. The only materials you need are the ornament, paint and coordinating ribbon.
Cover the opening and shake the paint until the entire ornament is covered.
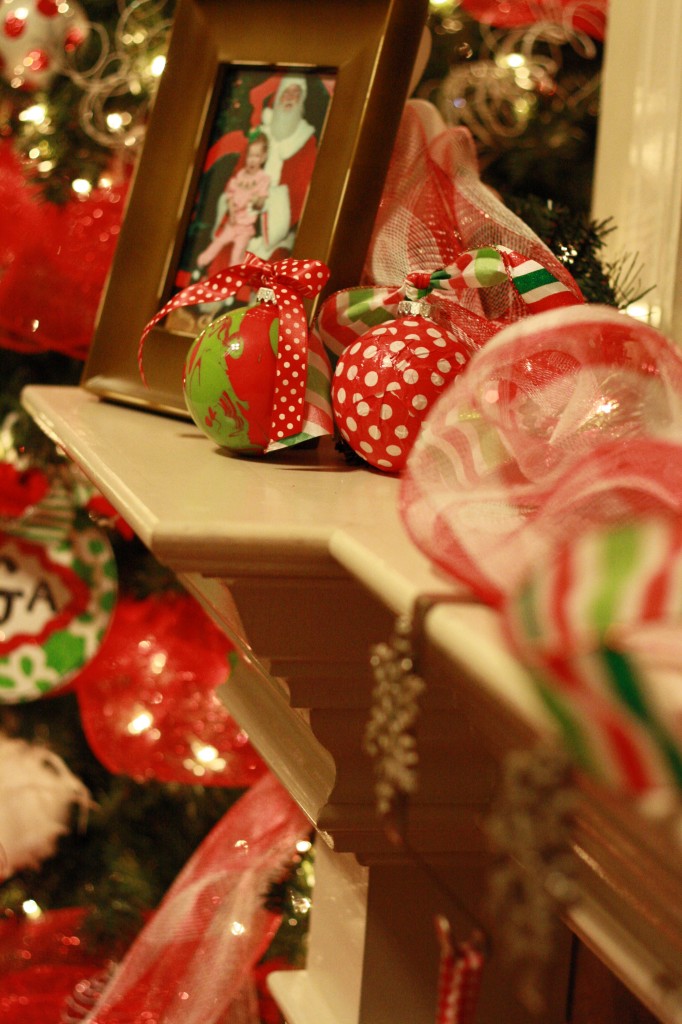
I made several ornaments and added them to the mantle to make things a little more festive.







Love those! I am making some with monograms on them (using my Silhouette Cameo) for my girls’ preschool teachers. Personal and EASY! I might try these also. 🙂
I like these. They’re simple, but look cute. And I can use the idea with my kids.
This is a great idea! I hope you don’t mind if I totally copy you!