I know you’ve probably seen tassle garland all over Pinterest lately. Actually, I’ve been seeing it for awhile, but I was never quite brave enough to take the plunge. But, my mom and I love a good project, and we thought this might be a fun one to spend some time in the craft room learning how to make. And spend some time we certainly did!
The first set took us a fair amount of time to complete. By the second set, we were much faster and more efficient thanks to a few changes we made during the process. And last week we threw together a third strand rather quick! I know there are a million different tutorials you can find to make this, but I thought it would be helpful to share the method that worked well for us, in case you’re thinking of taking the tassle garland plunge yourself. You totally should, by the way!
Here’s what you’ll need:
- tissue paper in your preferred colors
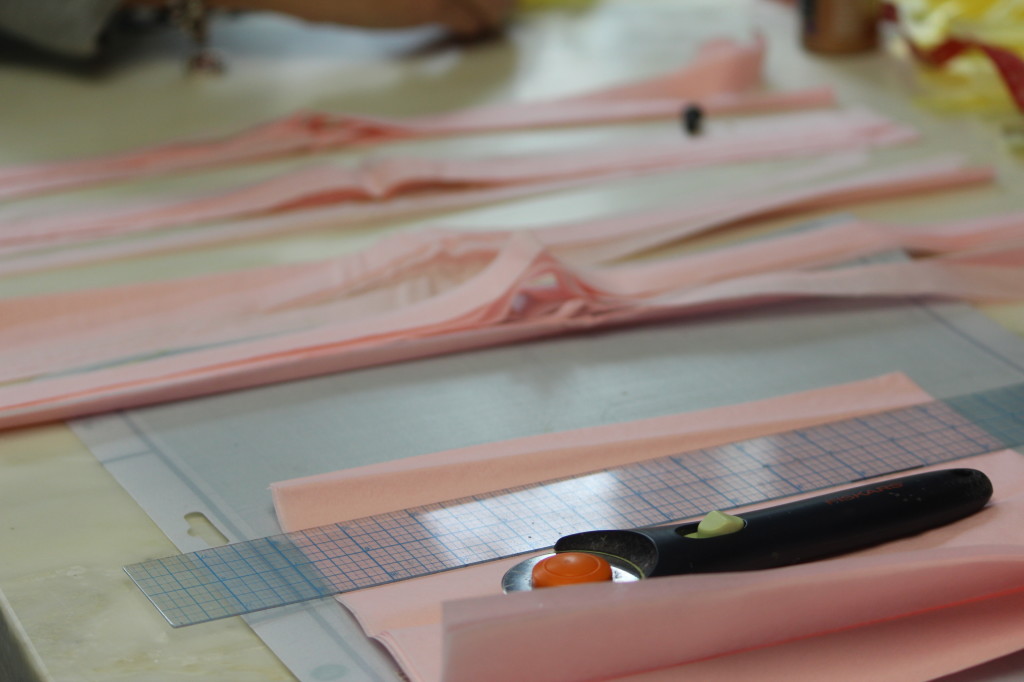
- scissors or a rotary cutter (seriously, use the rotary cutter, it’ll make your life easier)
- twine for hanging (I just pick up random colors from the Target dollar spot)
- Aleene’s turbo tacky glue
- straight edge
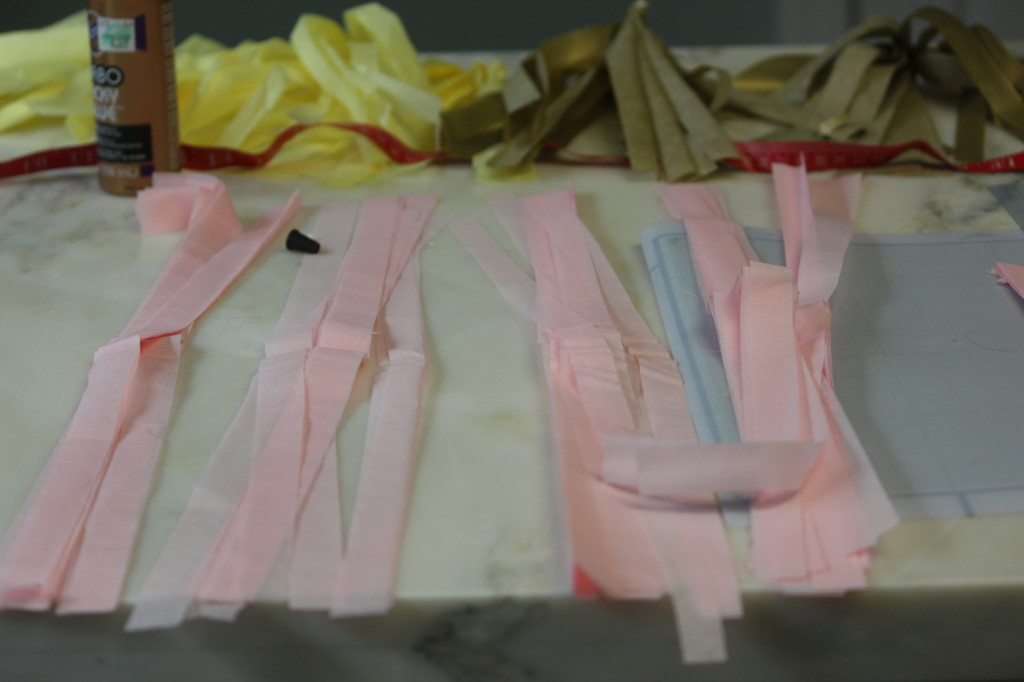
Fold about 5 sheets of tissue paper in half lengthwise and cut the paper into strips. We used around 1/4″ but here’s where you can experiment, I like it a little smaller because it ends up looking fuller and hanging better for me, but this particular one is around 1/4″ wide.
Lay your strips out in sections. I used about 25 strips for each tassle. I found it easier to twist this way, but you can add more for a fuller look, if you prefer.
Be sure your strips are even and find the middle of the stack. At the middle, start twisting your strips together until it is held together tightly. Continue twisting the paper, be sure you’re twisting evenly on both sides so you’re tassels will be the same length. Continue twisting until you have about 3″ tightly twisted in the middle.
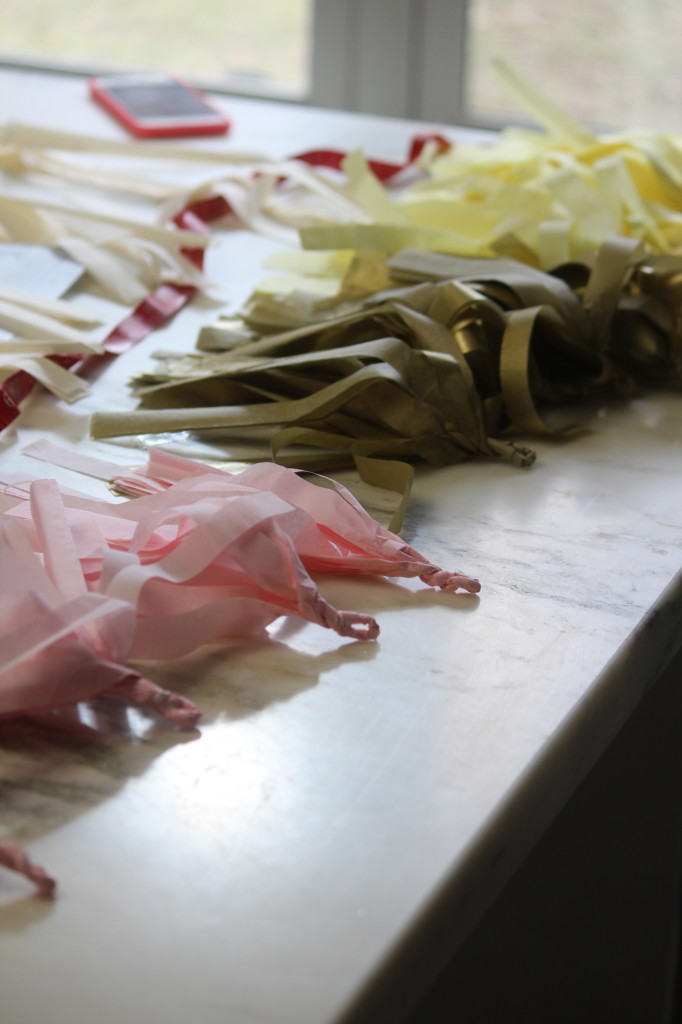
Twist the paper in half to create a small loop at the top. Once you’ve created a loop, continue to twist a few more times. These twists will essentially hold the tassel together. Add a dab of glue and hold the twist firmly until it sets (this only takes a few seconds), then let it dry completely.
Continue this process until you have your desired number of tassels. For reference, I used 4 colors, and made 5 tassels from each color, for a total of 20.
Once they’re dry, you’ll want to fluff your tassels. This seems like a part you might want to skip, but don’t. It really makes a big difference in the way your final products looks. To fluff, just flip the tassel over and separate each piece of tissue paper.
Now you’re ready to string them onto your twine! You’ll want to trim the ends once the tassels are hanging to make sure they’re all even.
For this particular garland, I added a name. I simply poked a small hole in the letters using a push-pin and strung them together with clear fishing line. I tied each end to the garland to complete the project.
These are perfect for birthday parties, weddings, showers, and even nurseries. I think they are so fun and festive and love to have them hanging in my house for holidays and special occasions. 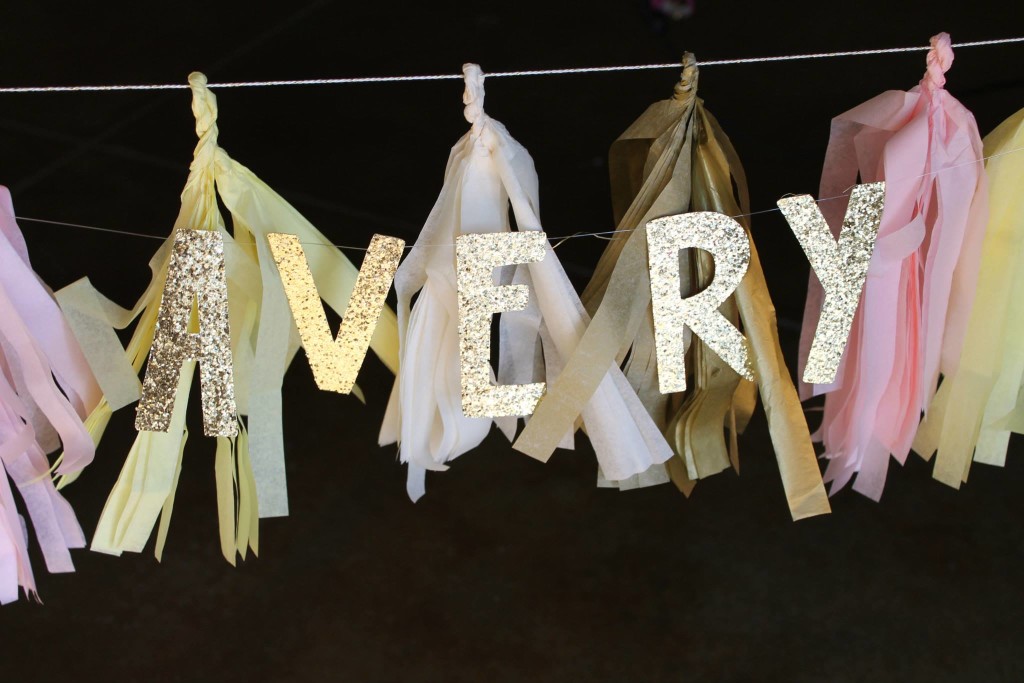






I think the rotary cutter makes all the difference! I forced my hubs to help me make one last New Years and he swore he’d never help again if I was using scissors. Great tutorial and they turned out great!
Funny, how I made the same thing a totally different way with similar results. I used scotch tape instead of glue, & hung them on curling ribbon, & I only cut the ends, the middle was connected. I used scissors which made my arm ache.
These are so cute! I’m already planning my baby’s 1st birthday and will definitely add these to the decor mix! So easy and so cute! Love it! Thank you for sharing 🙂
Annie
6-12 MONTHS BABY GIFT GUIDE on The MAMA Gazette