I’m not sure that I’ve ever talked about our annual cinnamon roll baking in detail on the blog, I touch on it over on Instagram each year, but I thought it would be great to have all the information in one place. (affiliate links appear below)
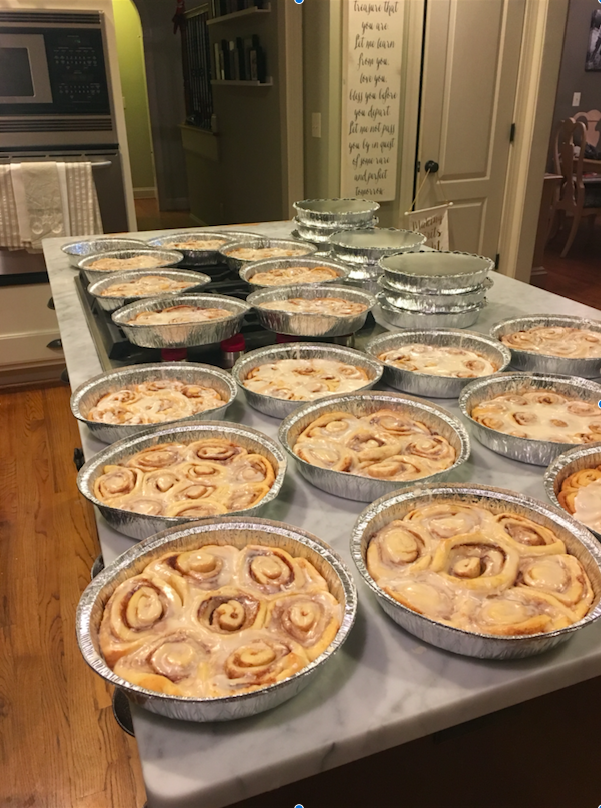
For years, my mom and I (and now my MIL has joined in on the fun, too) have carved out a day during the busy holiday season to bake homemade cinnamon rolls. I absolutely love the kitchen, and I could spend hours baking and cooking delicious things, so this is definitely one of my favorite traditions. We roll out dough and cut cinnamon roll after cinnamon roll. We started with a single batch and this year, we quadrupled the cinnamon rolls.
I use this recipe every single time, there’s no need to reinvent the wheel or tweak this recipe too much, it’s pretty much perfection. I do have some tips that make things a little easier. Just trial and error after many batches of delicious cinnamon rolls, so I thought I’d include what we’ve learned so far. Let’s start from the beginning.
I would definitely recommend refrigerating the dough after it rises for about an hour. I made two batches of the dough before we started so we wouldn’t be waiting around for the dough to rise. We made the other two batches of dough once we got started, it helped so much with time.
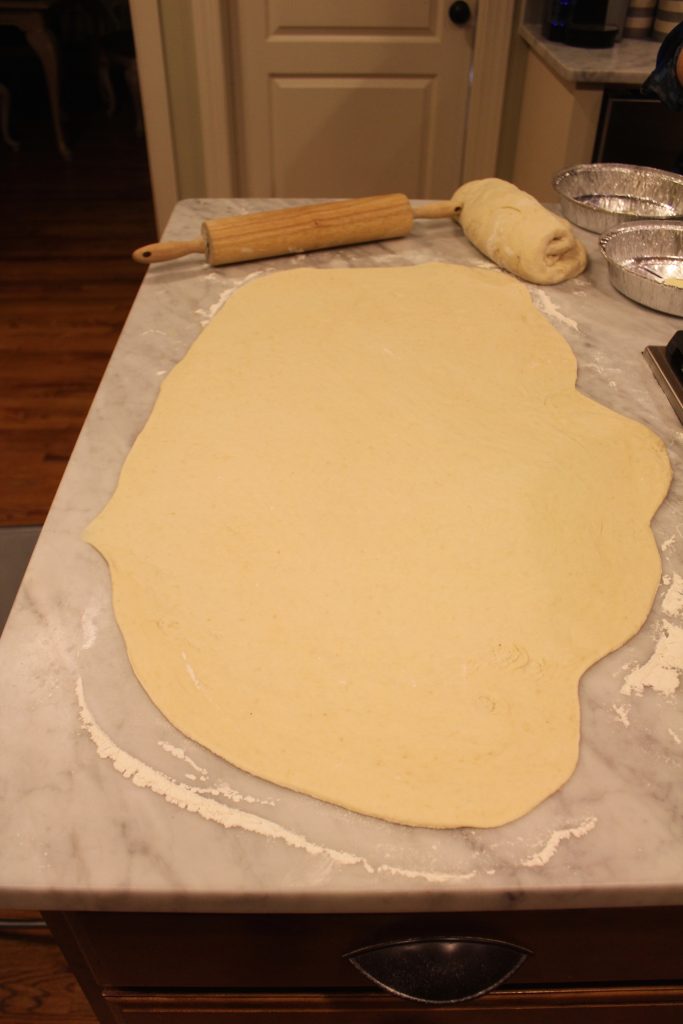
The recipe recommends rolling the dough out to a 10″X30″ rectangle. I literally measure the first set every time just to get a feel for what it should look like. My mom rolled this dough out eight times last night.
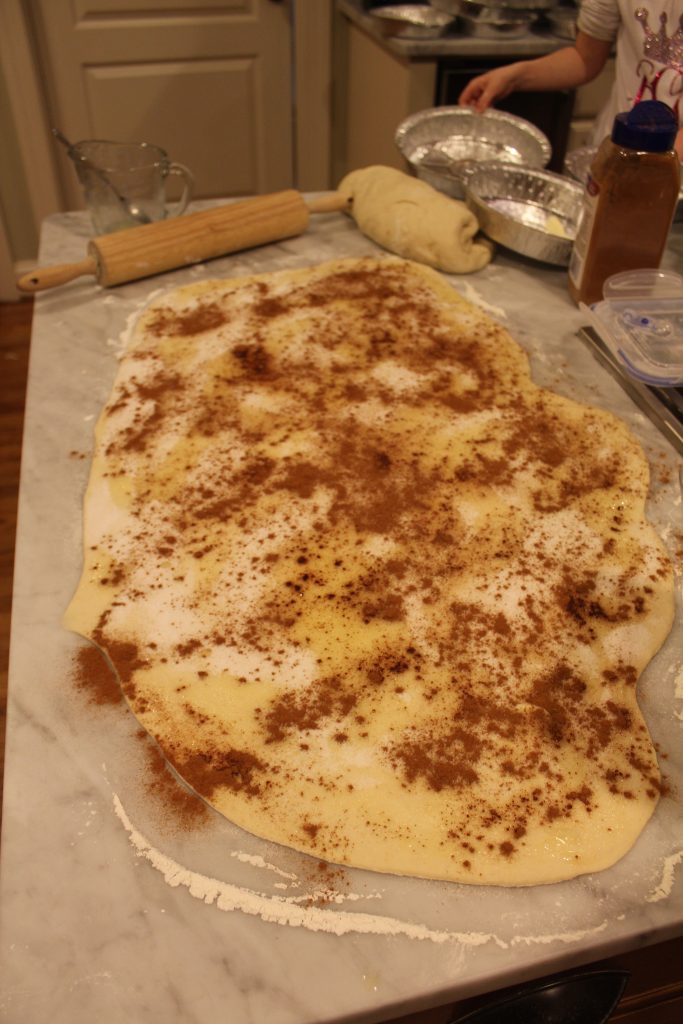
The butter is another big tip. We use about a stick and a half, maybe a stick and 3/4. If you do much more than that, you end up with a huge buttery mess as you roll the dough. I’m only telling you this from experience.
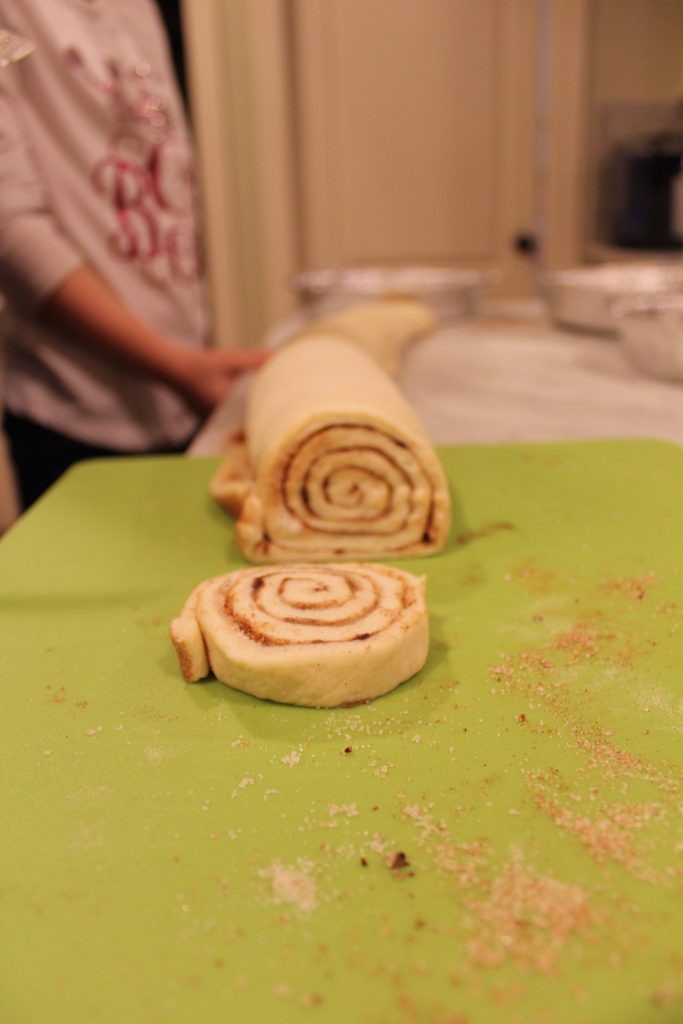
The ends may not be a perfect cinnamon roll, so we just set them to the side to cook last, they aren’t pretty, but they’re still delicious. We cut the slices about 1/2″ thick as she recommends, I don’t think it would hurt to go a little thicker, but I wouldn’t go any thinner.
In my opinion, the cinnamon rolls below are the absolute perfect color. I like to catch them at this stage and take them out of the oven. Since they’ll be frozen and need to be reheated, you don’t want to brown them too much or you’ll end up with dry cinnamon rolls.
So you’ll bake and ice them completely and then put the lid on the pans (or foil, if you’re using a different type of pan), then they go straight in the freezer, I don’t let them cool completely. They stay in the freezer until I’m ready to package and give them away. We deliver them to our friends frozen with instructions about cooking them from the frozen state.
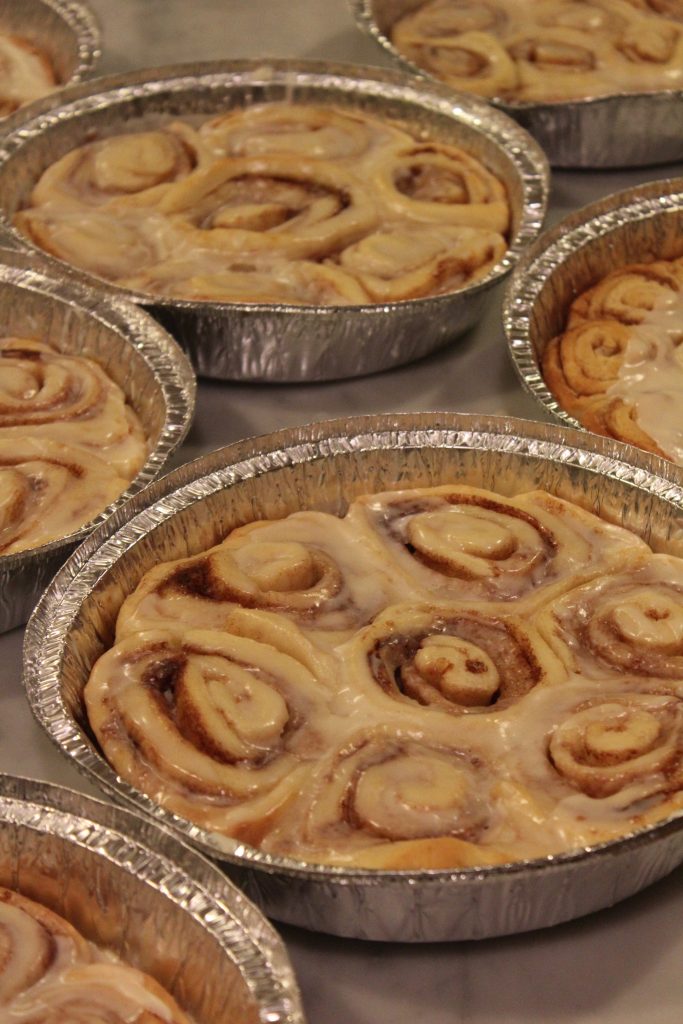
Let’s talk about those pans. They are perfect, especially when it comes to the packaging stage and you don’t have to worry about covering them with aluminum foil, you just put those tops on and it creates a nice flat surface for packaging them pretty. My dad picked up a box of them at the restaurant supply store for us, but I did find some options on Amazon. I get a big box of 150, and use them for other things throughout the year, too. It’s cheaper to buy more, like this option of 200 for $59.99. If you don’t want to do that many, you can do a smaller option.
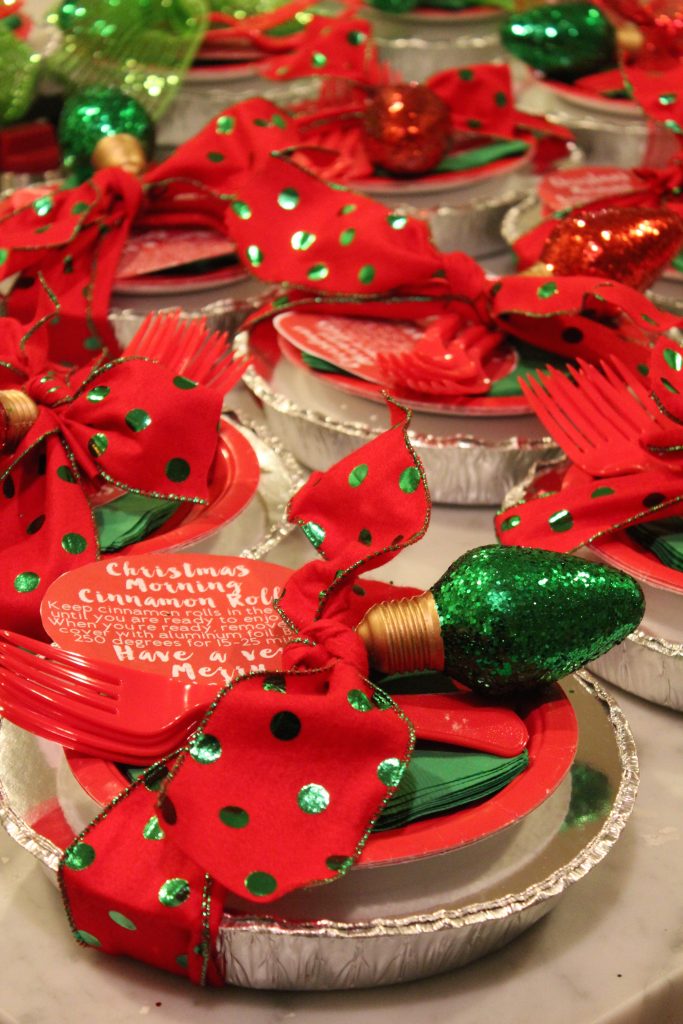
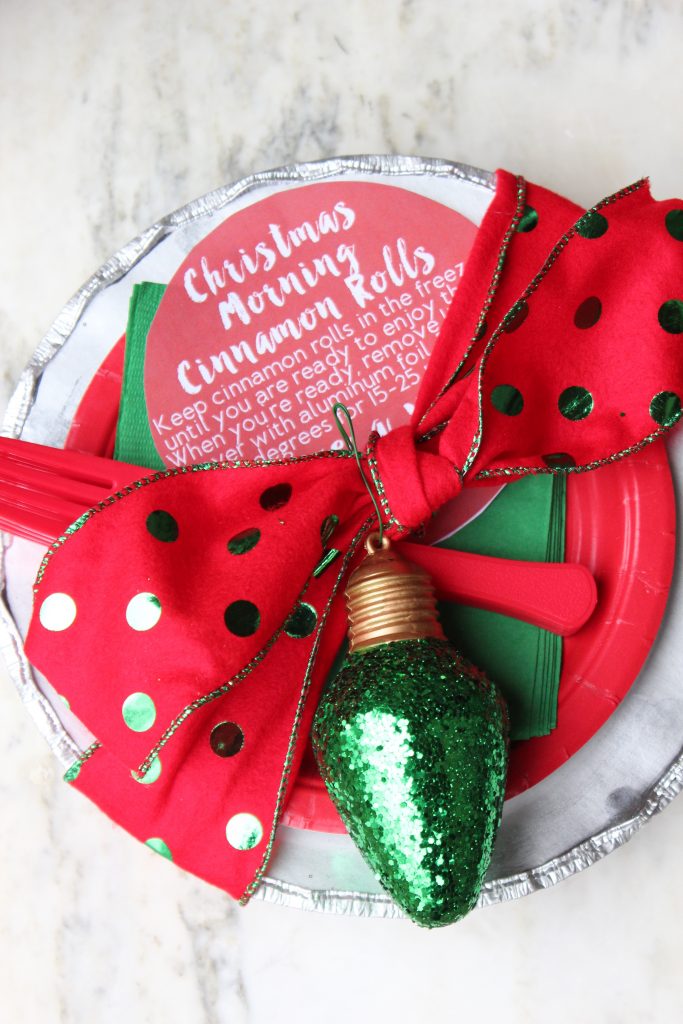
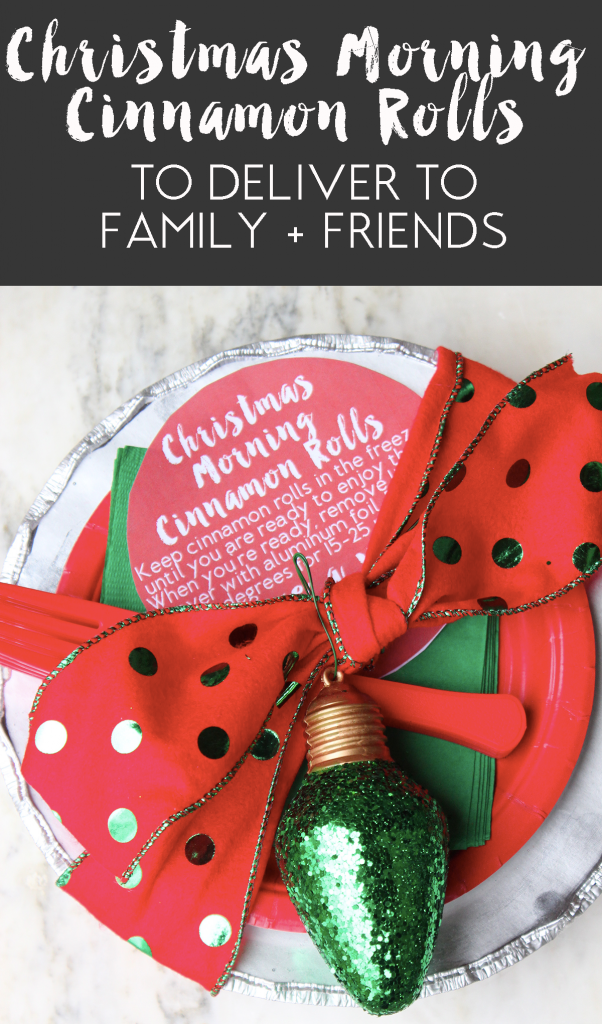
If you’re wondering, they are every bit as delicious as they look in that photo above. I used to just seal them and hand them out in those pans, but I love how Ashley added plates and forks and napkins. So we started doing that and making them a little more festive with pretty ribbon and embellishments. Do you love that polka dot ribbon as much as I do? I had already purchased everything for a red and green theme or I would have gone with this black buffalo check. It’ll probably be my pick for next year.
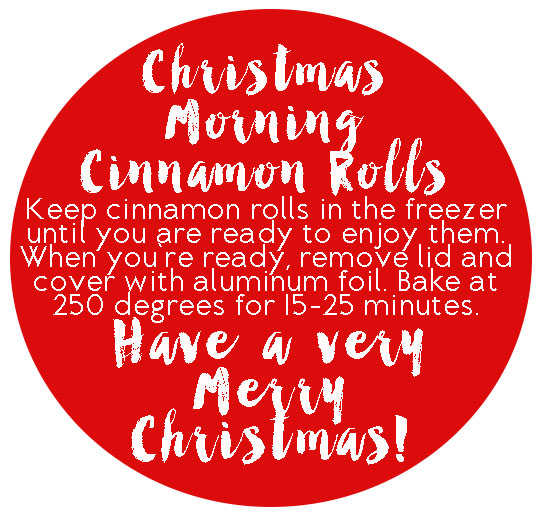
We include some baking instructions (I mentioned those earlier), because they arrive to our friends frozen. It’s so simple to cook them for a quick and easy breakfast on Christmas morning or any other day they choose.
This is the printable I used this year. I just put this image in a Word document, used the landscape setting and adjusted it so two would fit on a page (with super small margins).
We only keep one pan for ourselves. It’s a calculated move on my part, because these are fantastic and delicious and I love having them for Christmas morning, but I don’t need a freezer full.
So many people are nervous to try this recipe because you make everything from start to finish, but I would definitely encourage you to go for it! It’s not nearly as hard as it seems and your friends and family will thank you for the effort.




Such a great idea, jennifer! We’re doing the same thing this year- I also include a cute recipe card with the recipe as well as an allergy disclaimer.
Thanks so much for sharing! I’ve been looking and looking for a cinnamon roll recipe. I’m glad to have your tried and true tips before I start!
Wow! This is such a great idea, Jennifer. Thank you for sharing your perfect recipe for cinnamon rolls.
Have you ever tried a gluten free recipe for cinnamon rolls? I would love to make them, however several people I know are gluten free.
Ohhh! Good idea! I would think Against All Grain would have one and everything I’ve ever made of hers has been AMAZING!
This is absolutely adorable! Thank you so much for sharing! I’m thinking this might be a new tradition for my girls and I!
It’s so fun!!
They really are good, we got to enjoy some last year!
Hi Jennifer! Did you drizzle the sauce on the frozen ones for gifts?
I did! I made them start to finish, then froze them!
I wish I found this earlier! This is a great idea. I am definitely doing this next year. Super cute and very nicely packaged. atasteoftori.wordpress.com
My dad makes these every year and brings them to our Christmas brunch. I love the idea of making them for friends and your packaging with the plates & napkins is super cute! Thanks for sharing! Merry Christmas! 🙂